
Updating the BIOS on your GIGABYTE motherboard can significantly improve your system’s performance, compatibility, and stability. Whether you’re a seasoned technician or a first-time user, this guide will walk you through the BIOS update process smoothly and efficiently. Let’s dive into the critical steps and details necessary for a successful BIOS update.
Preparing Your USB Flash Drive
Before you start, ensure your USB flash drive is formatted as FAT32. This file system is essential for the BIOS update process. Connect the USB flash drive to your computer, open Windows Explorer, right-click the drive, and select “Properties” to verify the file system. If it’s not FAT32, you can reformat the drive by right-clicking it in Windows Explorer, selecting “Format,” and choosing FAT32 as the file system.

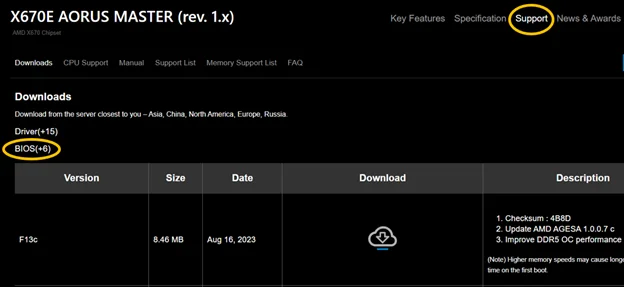
Downloading the Latest BIOS Version
Next, visit the official GIGABYTE website and navigate to your specific motherboard model’s product page. Be careful to select the correct model, as many GIGABYTE motherboards come in “Wi-Fi” and non-Wi-Fi variants. Once on the product page, click the “Support” tab, then go to the “BIOS” section. Download the latest non-beta BIOS version available. If you need to troubleshoot by downgrading, select an earlier version.
Preparing the BIOS File
After downloading the BIOS update, extract the contents of the zip file. The critical file will typically be named after your motherboard model (e.g., “X670EAORUSMASTER.F13c”). Copy this file to your FAT32-formatted USB flash drive. Other files in the zip archive are unnecessary for this update process.
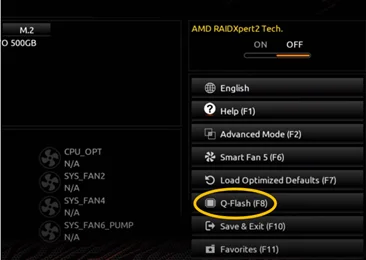
Updating the BIOS
With the USB flash drive still inserted, restart your system and enter the BIOS setup by pressing the appropriate key during the boot process (usually “Delete,” “F2,” or “F10”). Once inside the BIOS, navigate to “Q-FLASH” by pressing the F8 key. Select the BIOS file on your USB drive and follow the on-screen instructions to initiate the update. This process includes verification, a system restart, and the actual update. Do not interrupt this process, as it could render your motherboard unusable.
Finalizing the Update
After the BIOS update completes and the system restarts, re-enter the BIOS setup to verify the new BIOS version. At this point, you should re-enable any custom settings like XMP/EXPO to optimize your RAM speed. Save any changes and exit the BIOS setup by pressing “F10.” If everything works correctly, congratulations – you’ve successfully updated your GIGABYTE motherboard BIOS!
Updating your BIOS might seem daunting, but with careful preparation and by following these detailed steps, you can ensure a smooth and successful update. This process not only resolves potential compatibility issues but also unlocks new features and improvements for your system.
By focusing on each crucial step and providing detailed instructions, this guide ensures users of all experience levels can confidently update their GIGABYTE motherboard BIOS, improving their system’s performance and longevity.
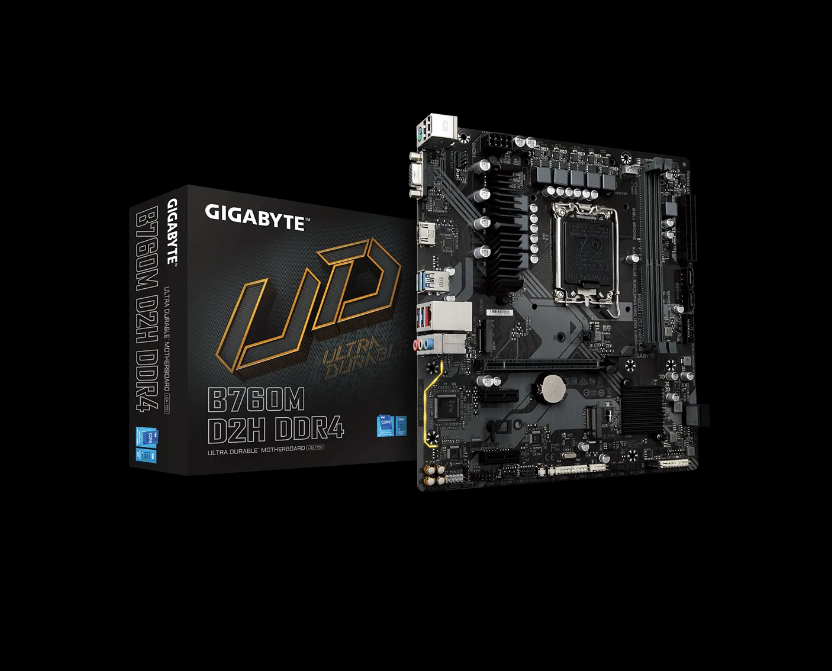
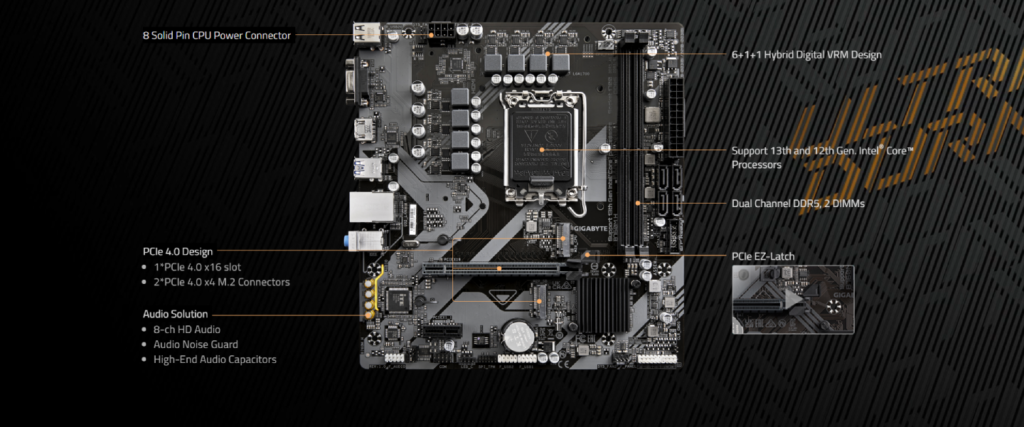
Superlivings website provides more motherboard information and high-quality Gigabyte motherboards