
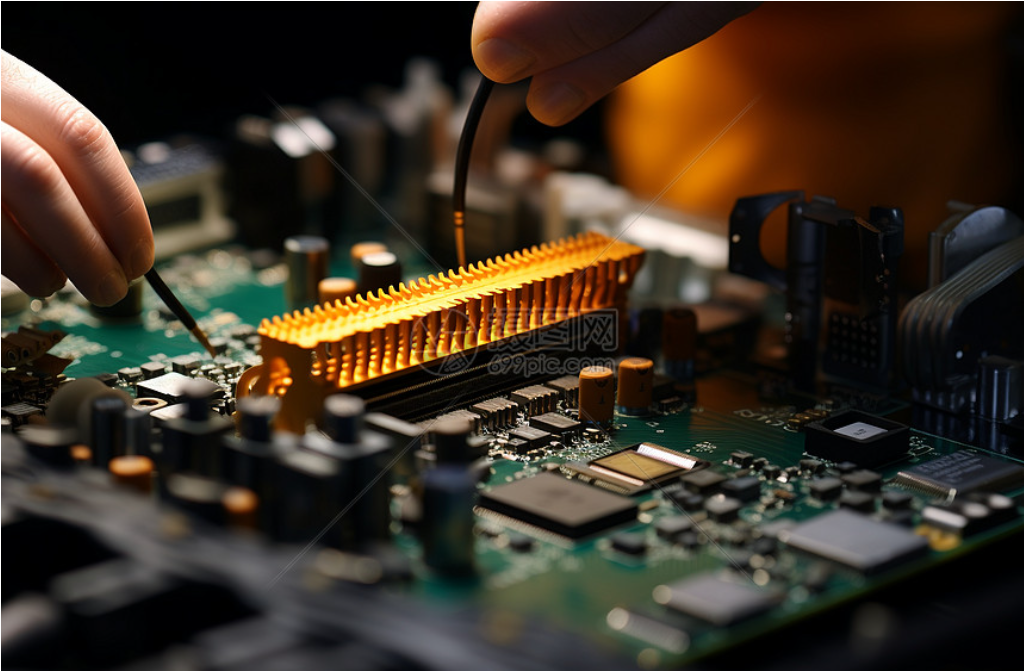
Are you looking to upgrade your PC or build a new one from scratch? One crucial component you’ll need to install is the motherboard. In this comprehensive guide, we’ll walk you through the process of installing a motherboard step by step, ensuring that your system build goes smoothly.
Before diving into the installation process, it’s essential to gather all the necessary tools and components. You’ll need your motherboard, CPU, RAM, power supply unit (PSU), graphics card (if applicable), and any additional peripherals. Ensure you have a clean, well-lit workspace with plenty of room to maneuver.
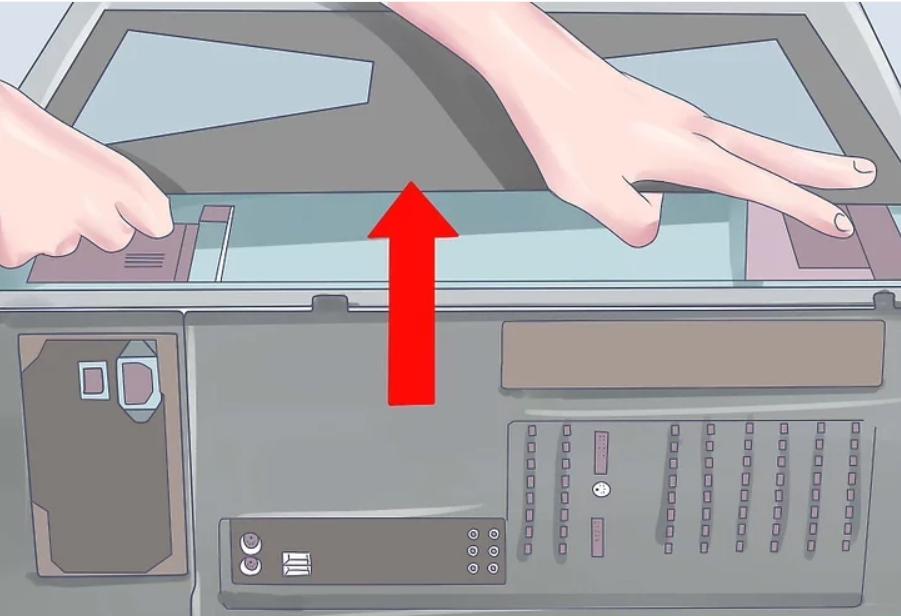
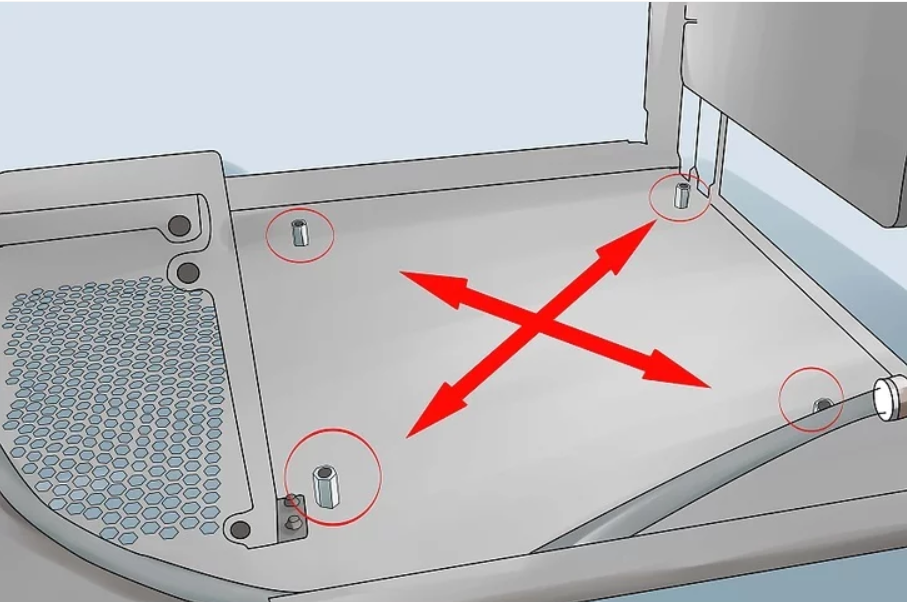
The first step in the installation process is to prepare your PC case. Remove the side panels to access the interior and locate the motherboard mounting points. These are typically marked with standoff screws or raised mounts. Make sure the case is free of any dust or debris that could interfere with the installation.
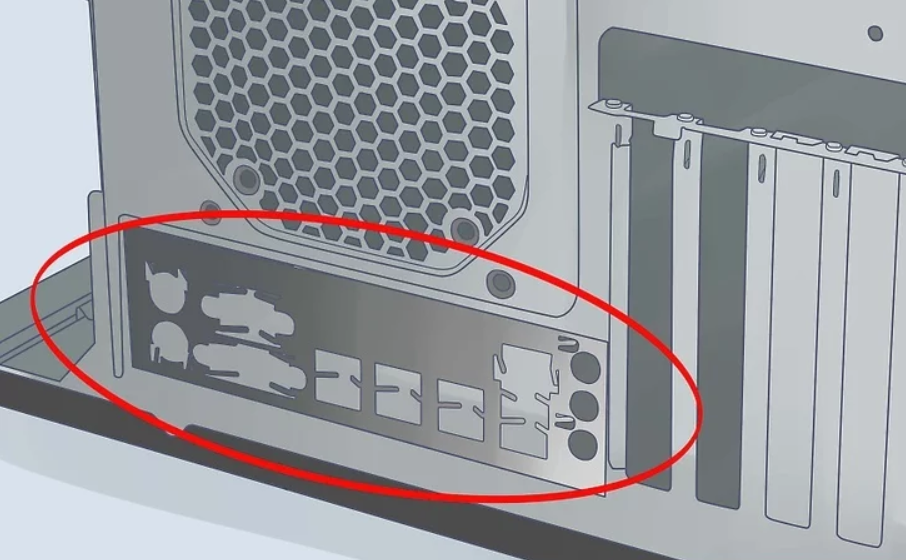
Now it’s time to install the motherboard. Carefully align the motherboard with the mounting points in the case, ensuring that the I/O shield lines up with the corresponding cutout in the back of the case. Gently lower the motherboard into place, taking care not to force it or damage any components.
Once the motherboard is in position, secure it to the case using screws or standoffs. Be sure to tighten the screws evenly to prevent any warping or bending of the motherboard. Double-check that all the mounting points are securely fastened before proceeding.
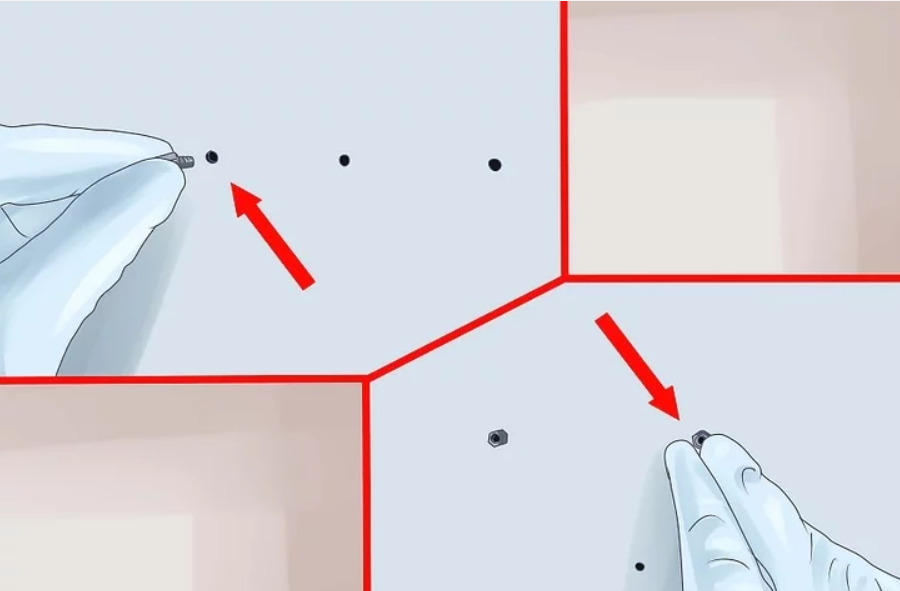
Install the standoffs. Match the holes on the motherboard with the available standoff locations on the motherboard tray. Every case and motherboard tray is different, and all will have different hole configurations. Line up the motherboard to see where you can use standoffs to secure it. Every hole possible on your motherboard should have a standoff installed.
- Most standoffs screw into their holes, but some are pushed in like pegs.
- Not all motherboards will be able to attach with all of the available holes. Connect as many standoffs as possible, but never use any extra standoffs. Standoffs should only be installed in locations with a corresponding motherboard hole.
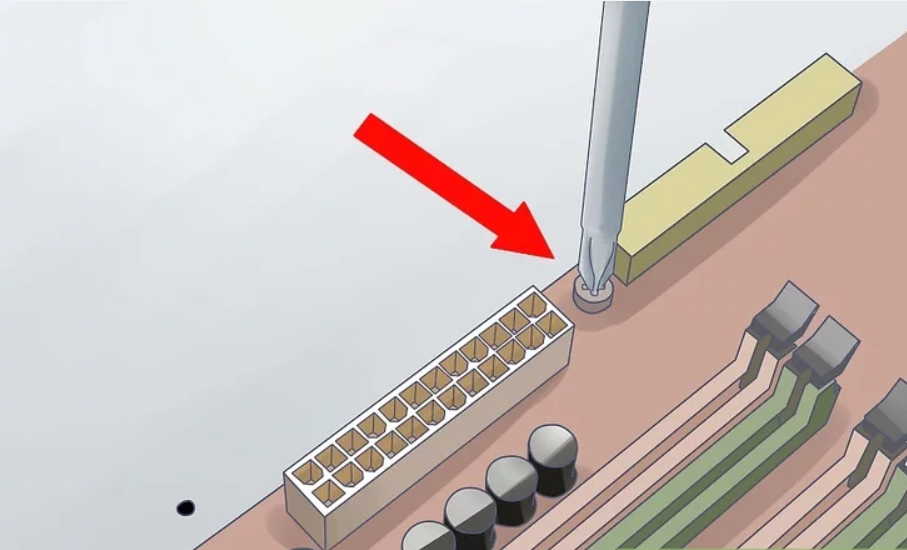
Place your motherboard on the standoffs. The holes and the standoffs should all line up. If your motherboard tray does not come out of the case, you may need to gently force the motherboard against the I/O panel on the back of the case to fit it. Start securing the motherboard with screws.
- Don’t overtighten the screws. Make sure it is firm but not too tight. Do not use an electric screwdriver.
- Holes that don’t have metal on them will need cardboard washers between the screw and the motherboard. It is best to avoid using non-metallic holes at all.
With the motherboard securely installed, it’s time to connect the power supply. Locate the main power connector on the motherboard (usually a large, rectangular plug) and connect it to the corresponding power supply cable. Additionally, connect any supplemental power connectors required by your CPU or graphics card.
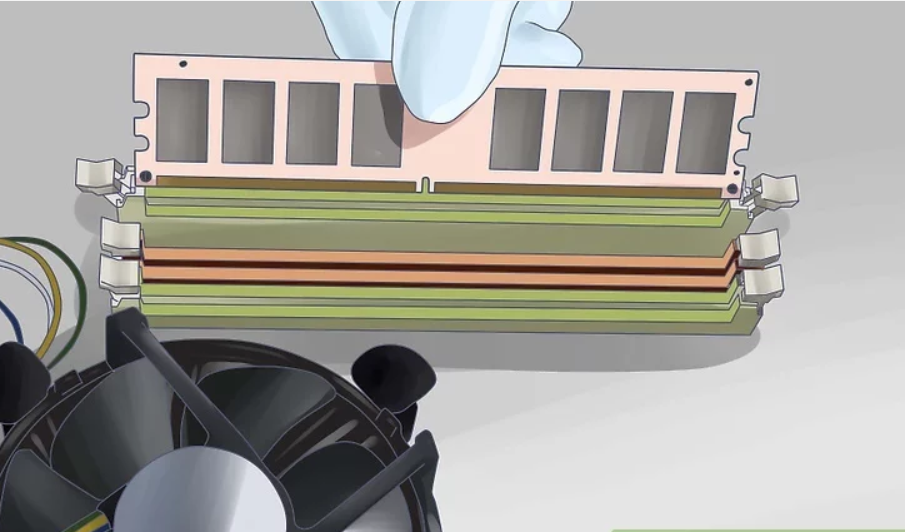
Next, install the CPU and RAM modules. Refer to your motherboard’s manual for detailed instructions on how to properly install these components. Take care to align the CPU and RAM correctly and apply gentle pressure to secure them in place.
Once the CPU and RAM are installed, it’s time to connect any additional components, such as the graphics card, storage drives, and peripherals. Ensure that all cables are routed neatly and securely to prevent any interference with airflow or other components.
Finally, double-check all connections and components to ensure everything is properly installed and seated. Replace the side panels on your PC case and secure them with the appropriate screws. Congratulations, you’ve successfully installed your motherboard!
In conclusion, installing a motherboard may seem daunting at first, but with the right tools and knowledge, it’s a straightforward process. By following the steps outlined in this guide, you’ll be well on your way to building your dream PC. Happy building! Our website also provides you with high-quality and high-performance motherboards, as well as affordable motherboard packages. You can also take a look.
We can also watch this blogger’s video to install the ASUS motherboard.
The system installation guide is as follows:
Windows 10 Installation Tutorial
https://www.microsoft.com/en-us/software-download/windows10%20